Fireworks

Fireworks-Blog_Featured.jpg

I've been shooting Fourth of July fireworks going on 4 years now. The first time I ever photographed them was in Boston at the Boston Pops Fireworks Spectacular. My girlfriend and I sat on the side of Memorial Drive (Cambridge - looking toward Boston for photographic purposes) for roughly 8 hours before the show started. The amount of people was, frankly, terrifying. Average attendance each year is 500,000 people smashed together in a stretch of river banks roughly 1 mile long. Crazy amount of people - couldn't even get cell reception.

I learned that 8 hours ahead of time wasn't far enough in advance to reserve the seats I wanted. Some guy next to me kept leaning in front of my lens; a lot of the shots have the familiar silhouette of someone I disliked very much that day.

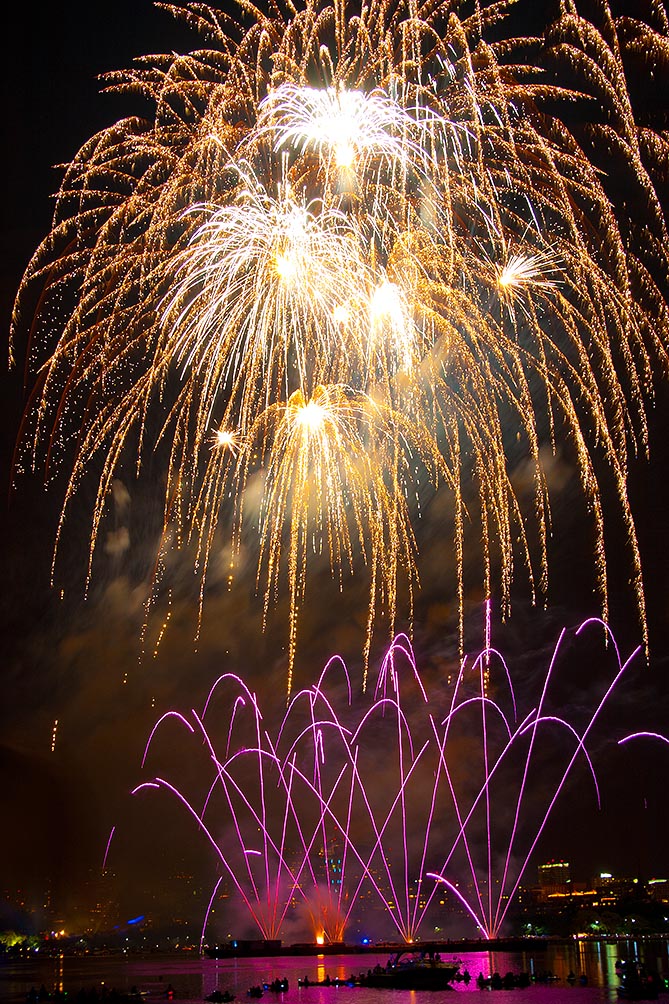
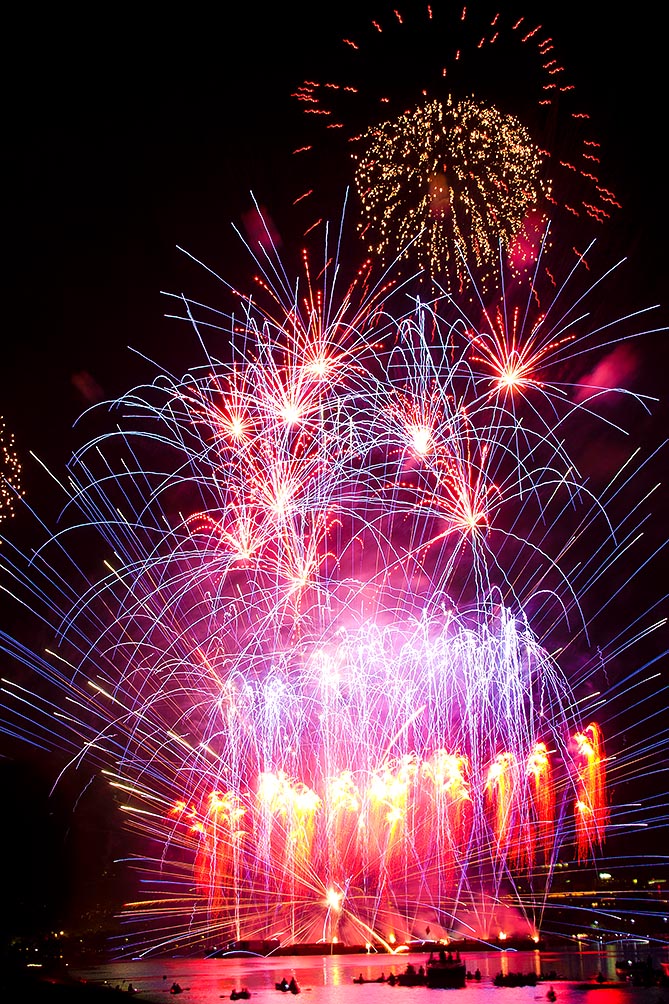
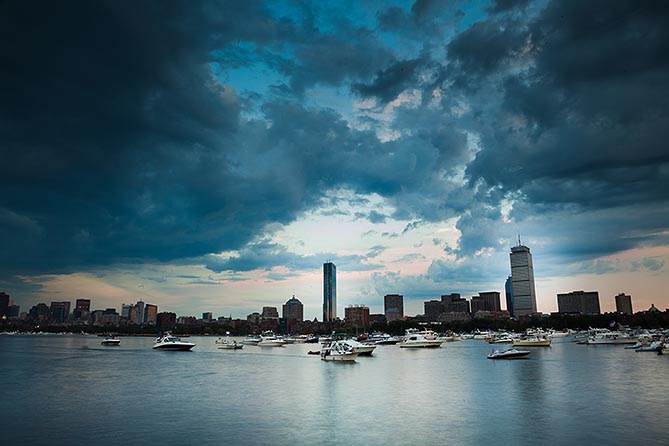
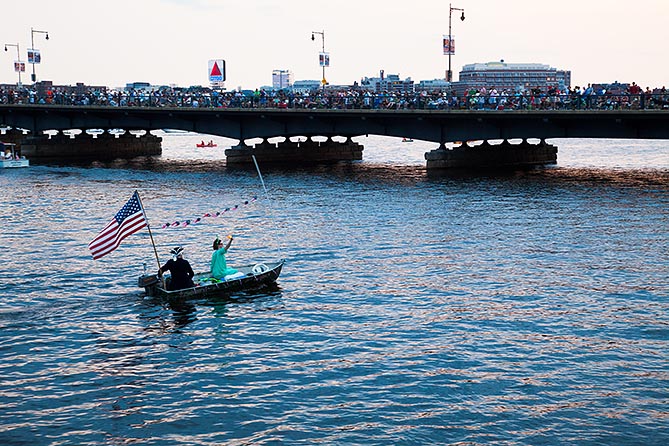
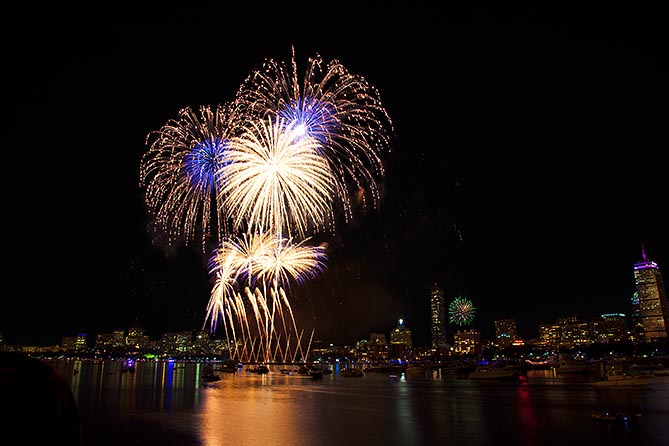
Here are some images from the first year I attempted fireworks photography:

Fireworks-Blog_001

Fireworks-Blog_004

Fireworks-Blog_010

Fireworks-Blog_011

Not bad for my first try. I was hooked after that. I came back the next year, only this time we arrived 12 hours in advance (bring sandwiches, drinks, and games or you'll lose your sanity sitting and staring at the Charles for that long) and I brought with me a better camera, a better lens, and a better tripod. We were set. Now the only thing left to do was wait, wait, wait.

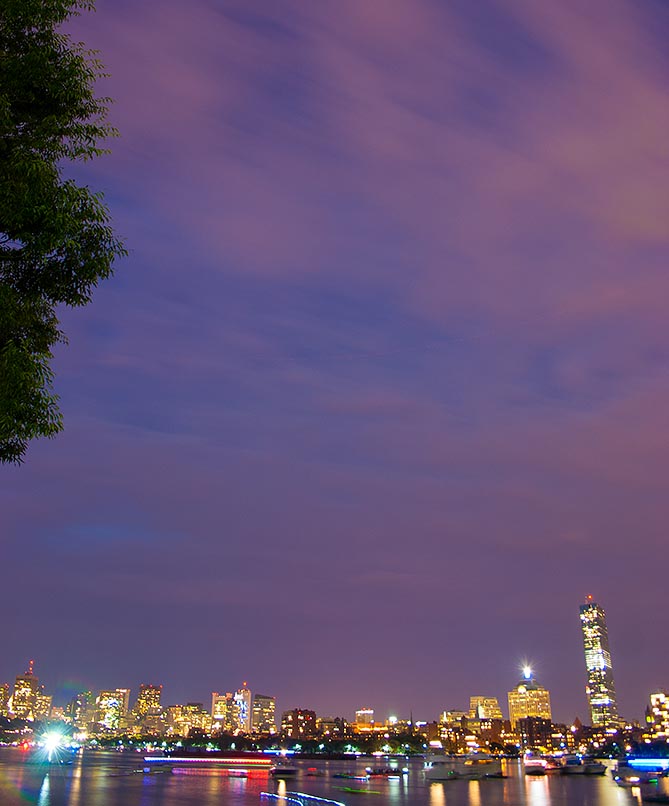
Here's the set of shots from the following year (2011):

Fireworks-Blog_002

Fireworks-Blog_003

Fireworks-Blog_005

Fireworks-Blog_006

Fireworks-Blog_007

Fireworks-Blog_008

Fireworks-Blog_009

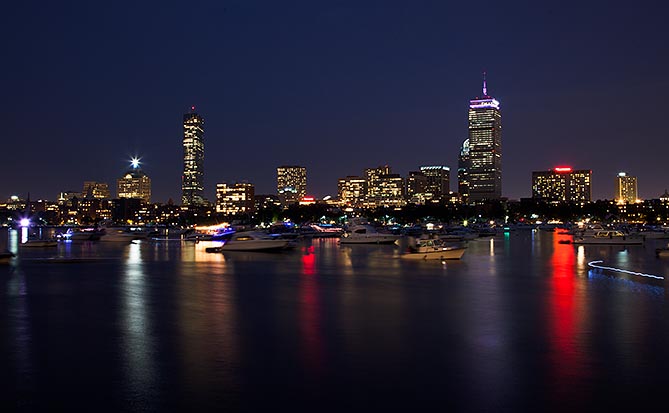
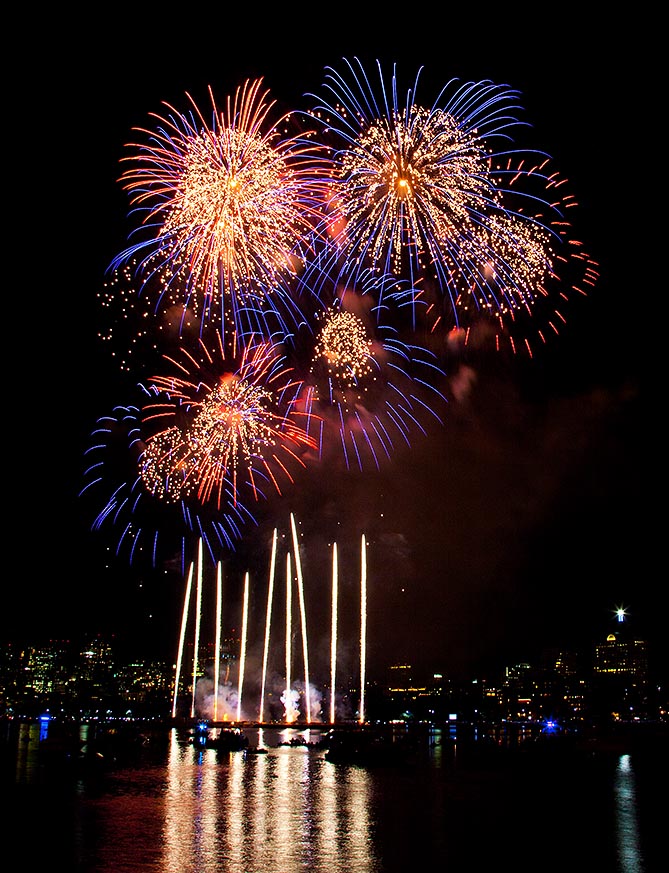
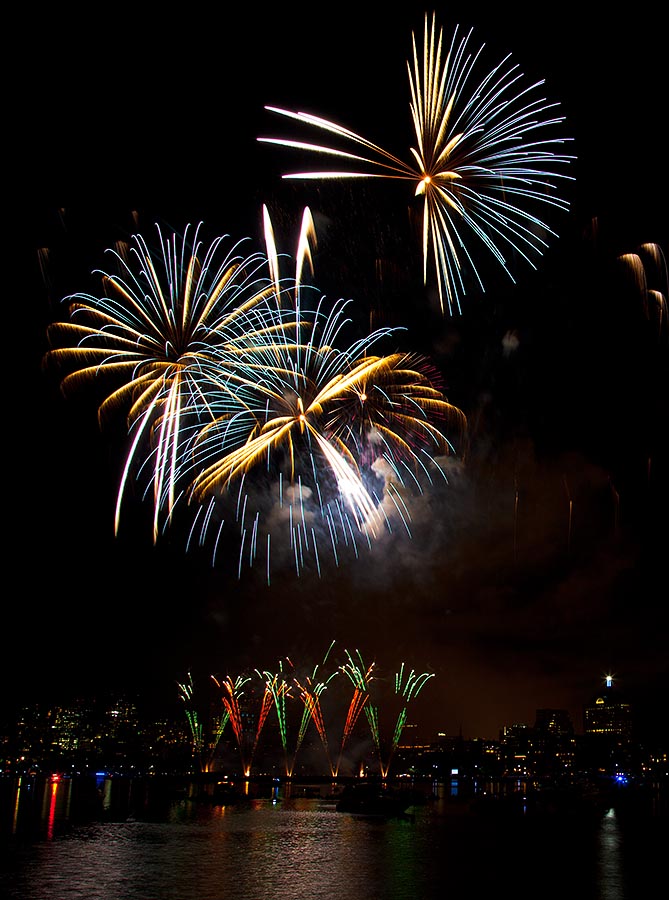
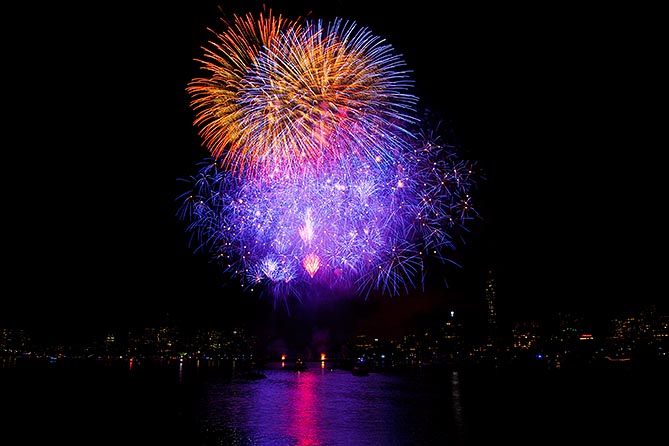
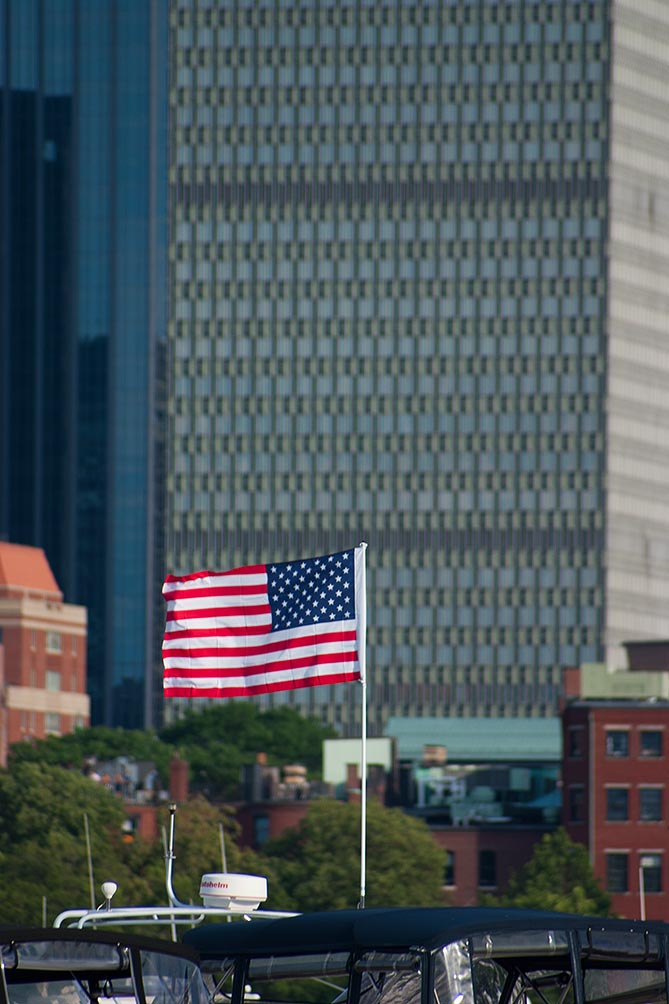
Much better. I was (and still am) very happy with how these image turned out. I especially liked being able to see the Boston skyline in some of the shots (which was my whole reason for sitting on the Cambridge side). By this point, I had figured out exactly which settings to use on my DSLR.

Unfortunately for me, the next year provided some less-than-desirable weather conditions. I shot some amateur (store bought) fireworks but nothing worth remembering.

This year (2013), I decided to challenge myself. I went to my local hometown fireworks (I lived in that town for 18 years and never once went to them) with some friends and family. The challenge this time around was to leave my professional DSLR, tripod, lens, and shutter release at home and instead bring along my little Canon point and shoot with no tripod. We got to the field a couple hours before the show started and gorged ourselves on fried dough and the other concessions available. Once the show was about to start, we found a front row spot to watch the fireworks – possibly a little too close which is why there wasn't anyone standing there. As the show started, I set my point and shoot manually (not all P&S cameras can be manually set, but most of them will have a "fireworks" setting that automatically sets it to the settings I manually set mine to. I like to manually set my camera so I have a little more control) to my known settings (low ISO, high aperture, slow shutter speed) and propped it up on the fence to act as my "tripod." I was pleasantly surprised with the results:

Fireworks-Blog_012

Fireworks-Blog_013

Fireworks-Blog_014

Fireworks-Blog_015

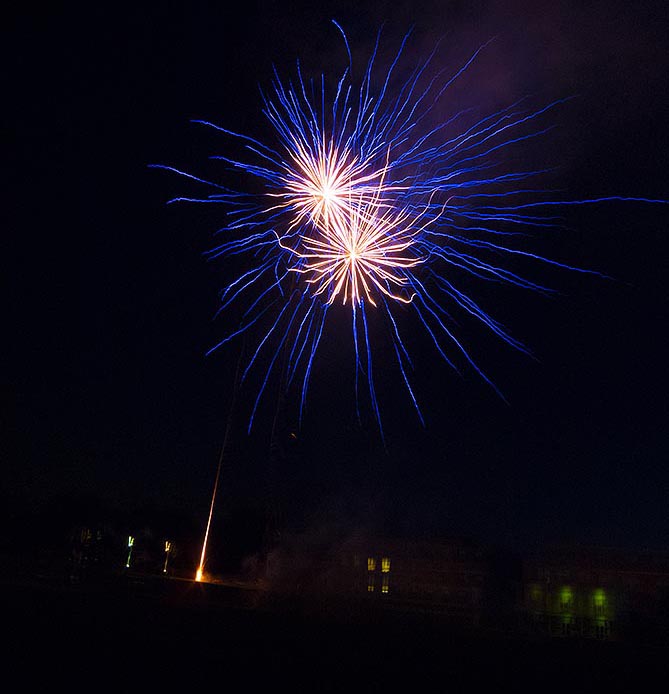
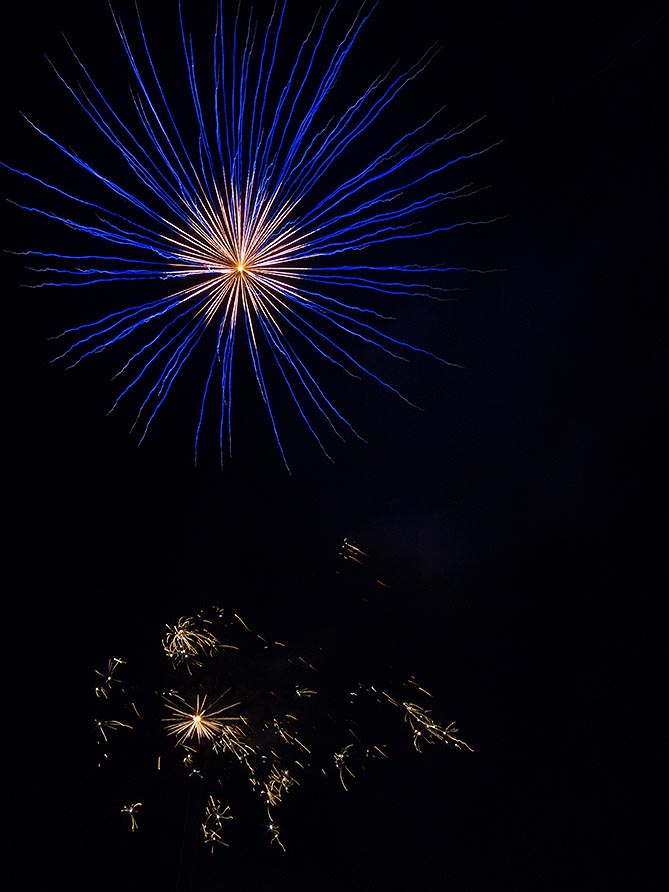
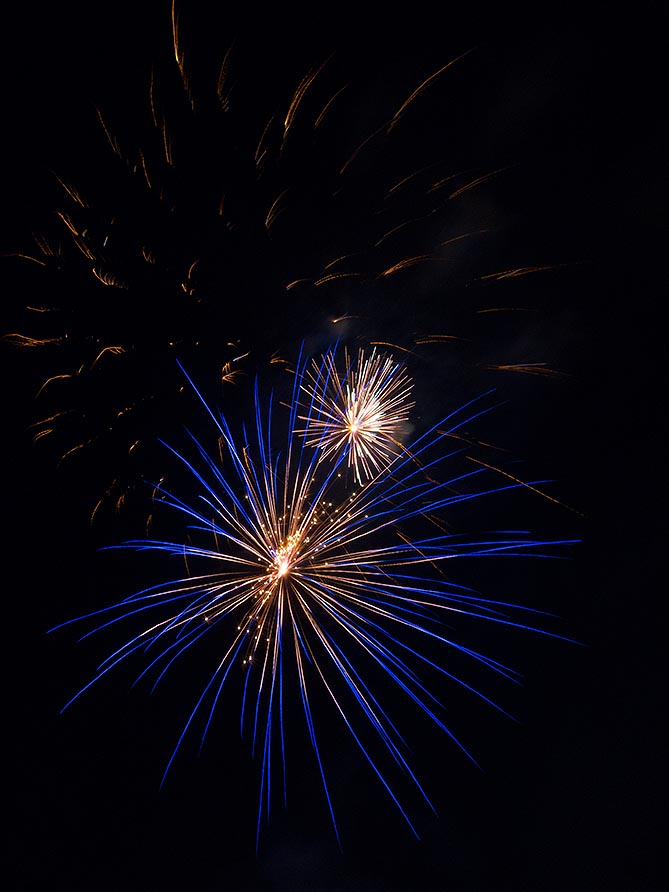
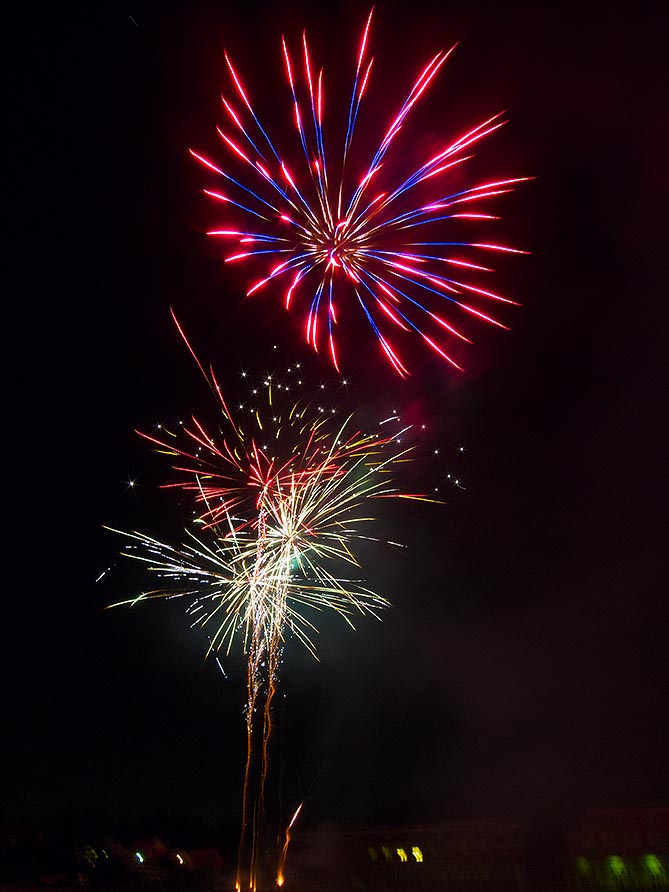
Not quite the same results as I got using my DSLR and tripod but that's the point of this blog post. It's not the equipment you use. If you know how to use the equipment you have and get a little creative (using a fence as a tripod isn't the most creative thing in the world, but you get the idea) you'll, more often than not, be pleasantly surprised with the results.

I'm looking forward to the 2014 Boston fireworks. I plan on standing near the esplanade for a different viewing angle. We'll see how those turn out!

Family Reunion

When I was a kid, we had family reunions every other year. I got to see, meet, and play with cousins I didn't even know I had.

My family hadn't had a reunion in almost 15 years, until just this year. The reunions, as I remember, were always my dad's mother's side of the family. Her maiden name is Cicone, which is why we always called them Cicone Reunions. Makes sense, right? Anyways, this year my aunt took the reigns and decided to plan another reunion. Everyone was really excited about it and there was a great turnout. Me being a photographer, I brought my camera, a tripod, and several lights to try to and capture a big group photo. There were just over 100 people in attendance and I needed to be in the picture, too. Coordinating 100+ people and getting them all to cooperate was a nice challenge. With the help of my aunt on the bullhorn, she told everyone to come to the front for a group photo. That was the easy part. I wanted the elder Cicone family members seated front and center. As this day was really a celebration of them, I wanted them to be easily seen.

As everyone was piling on to the stage, I dialed in some settings on my camera. I knew I needed a small aperture so that everyone would be in focus and didn't want to go too high on my ISO to avoid any grain because I knew I would be cropping this image and enlarging it. Next came my flashes - three Canon 600EX-RTs (one on top of my camera with a bounce card for just a bit of fill light). They both needed to be at equal power  to get even lighting across the board. 1/4 power seemed to do the trick. Fired a couple test shots as people were still getting situated. Image looked too dark - needed to boost my ISO a bit. Fired another test shot. Nailed it.

At this point, people had been setting themselves up on the stage for just over five minutes - which is just how long it took me to set up my flashes, dial in the correct power on those flashes, set my camera to the right settings, put my camera on the tripod, focus the camera, and compose the image. Everything looked great. Now for the 10 second self timer so I had a couple seconds to hop in the picture before my camera snapped an image.

I took only two pictures, one right after the other. This was so  I had options for head swaps in case anyone was blinking or looking away, I could correct that later in Photoshop.

Here's the original image:

Original-Cicone

Not bad. The people on the edges are a little too dark and the photo is in desperate need of cropping. Easy fix:

Cropped-Cicone-1

Once I had my exposure and crop where I wanted them to be, I could start fine tuning the image.  I couldn't stand being able to see the gaps in the curtain and the arch that the curtain formed near the top, where you can see an awful shadow and the ceiling. I also couldn't stand the table on the left side of the image, the wall fixtures on both sides, the stray fire extinguisher signs behind some heads, and stray wires. I also liked being able to see the proscenium arch in the original image (although it's not really an arch, just a straight piece of ceiling over the stage) Time to fix all of those things and move that proscenium arch down:

Final_Cicone

 It's hard to tell the subtle difference at this size, but when it's printed out, the changes are very apparent. The image just looks cleaner. In all honesty, if you looked at the printed and framed image that I made for my grandma, you would never know I made any of these changes. And that's the point. Any image manipulation should be invisible to the viewer. Image manipulation should make the photo better but without showing itself. Obviously there are times when image manipulation is meant to be obvious, but when manipulating an image like this, it needs to be invisible.

Hover your mouse over the image below to see a before and after comparison: